Page 3 of 32
Posted: Mon 9. Nov 2015, 20:09
by Ron May
Thanks Jeff. Is that the spiral method you are speaking of?
Posted: Mon 9. Nov 2015, 20:39
by Ron May
I'm not sure what you are speaking of with the "eye" and exposed spaces.
Could you explain further?
Posted: Mon 9. Nov 2015, 22:03
by Rachel McCollough
I think Jeff is referring to the middle of the large diamond- (Egyptian eye and birds eye patterns for example...). If you have a single strand over 6 spaces not going under anything it might be bad to slip...
Posted: Mon 9. Nov 2015, 22:16
by Ron May
Thanks Rachel, I see the one he's talking about but I'm not sure how to change that without
the pattern changing.
If I go under one or some then the diamond breaks right?
That's just the what the generator came up with.
Posted: Mon 9. Nov 2015, 22:39
by Ron May
I don't know what happened to the photo that was what I was going to use as my
handle core but here's another.
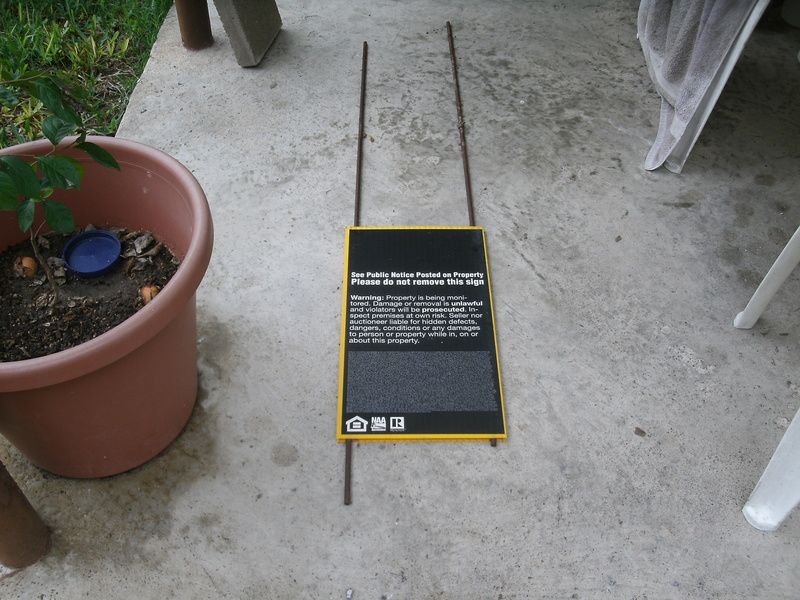
The metal rods are rusty but a little sanding and primer and painting they should work out just fine.
Now to find a place to set up the grinder.
Posted: Tue 10. Nov 2015, 11:41
by Sir Roger Tuson
Not quite Ron, what I meant was I have set up a pattern on the generator, printed it out and then when I started the actual plaiting, I managed to get my cords swapped round so the pattern was reversed colour-wise. By simply using the opposite side code to plait, the pattern re-reverses and you get what you want without having to redo the whole pattern again on the generator.
Does that make sense?
Posted: Tue 10. Nov 2015, 13:55
by Ron May
Roger, so you just wanted to switch the color sides and physically switched them on the handle and still followed the
OUs that the pattern laid out for you, right?
Posted: Tue 10. Nov 2015, 14:25
by Sir Roger Tuson
Not quite. I'd already tied the strands onto the handle, realised I'd got them the wrong way round so instead of untieing and redoing, I just used the opposite side code to plait with and it all worked out!
Posted: Tue 10. Nov 2015, 14:30
by Ron May
Thanks Roger. This is going to be very interesting.
Posted: Tue 10. Nov 2015, 21:58
by Ron May
I don't know what kind of fishing is done with sinker line, but evidently it's not done around here.
Walmart did not have any nor did any other "sports" store.
In fact they looked at me like I was from Mars. Even though that might be an accurate fact it's not reason to look at
me like that. I think I blend in pretty well.

There is a Bass Pro Shop here in the valley but it's a good 35 to 40 miles away. But I don't want to drive all the way over
there just for some sinker line.
I don't want to settle and use BBs again because I really want to try something different.
Carrying the weight in a diminishing format further down the bellies of the whip in stead of a cord loaded with them in the beginning of the core. I also wanted to maybe try some slight additional weight in the fall. Or at least experimenting with that.
So, it looks like I will be ordering it from online. This is going to delay the whip for who knows how long.

Posted: Tue 10. Nov 2015, 22:58
by Jessie Edwards
Online is good. Its for trolling. I got mine on ebay.
Posted: Tue 10. Nov 2015, 23:38
by Ron May
Thanks Jessie. I was wondering what a good source would be.
Posted: Wed 11. Nov 2015, 03:00
by Efren de Gala
I'll second Jessie. The trolling line I got on ebay was on sale because the colors bled: not an issue for us!
Posted: Wed 11. Nov 2015, 03:37
by Ron May
Thank you Efren.
Posted: Wed 11. Nov 2015, 21:39
by Ron May
I finally found a supply of sinker line , aka trolling line.
Thank you Jessie for leading me in the right direction and sharing
your experience using it with me.
It's greatly appreciated.
It will get here around Wed. the 18th.
Then the fun will begin!
Posted: Wed 11. Nov 2015, 21:50
by Ron May
Efren , thanks.
I was not as fortunate to find that vendor, but it is being
shipped at no cost. Well, at least no visible cost.
I know how retail works.
I plan on putting it inside of the twisted core strands which will automatically dispense the
weight progressively down the core due to the strand drops designed to make it taper.
A progressively diminutive weighted core in stead of a linear mass of BBs in the beginning of the core.
At least that's the plan.
I am also considering putting some in the first belly strand but that might be a little too much.
Posted: Thu 12. Nov 2015, 18:33
by Ron May
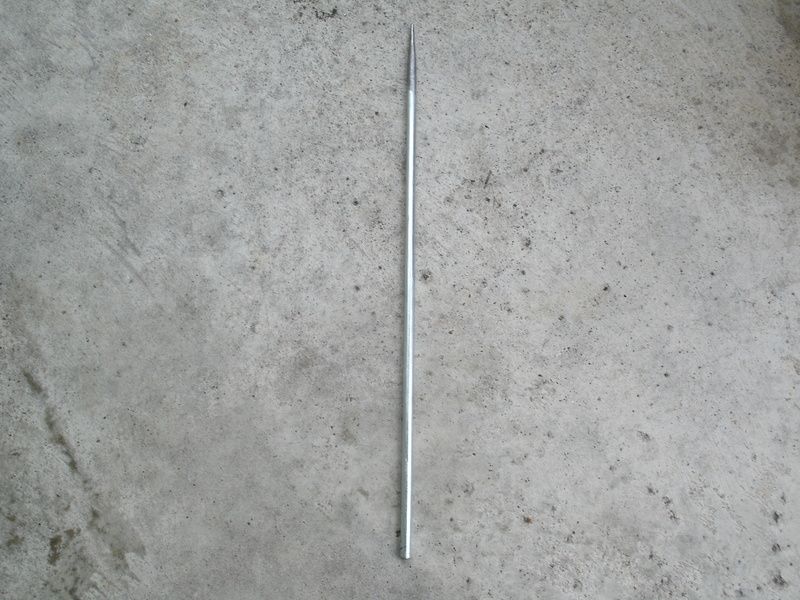
The handle is tapered and anxious to go to work.
I am thinking that binding over the tapered end might have a better chance to not
have a big bump when I bind the transition .... A LOT .
It's hard to see but it's tapered about 2" and the end has a radius on it.
Posted: Thu 12. Nov 2015, 22:48
by David Cross
Good thinking, blunting the end like that. That was going to be my first concern. Be sure you bind super tight over that, so it doesn't slip. I'd actually rough the surface a little to help with that.
Posted: Thu 12. Nov 2015, 23:50
by Ron May
The taper part is rough , well coarse wheel rough anyway.
But that is definitely good idea David.
Posted: Fri 13. Nov 2015, 11:31
by Paul Slater
I have a few pieces of steel here that I am going to try for handles. Tapering the end, possibly with a couple of steps further back to give the binding something to grab is one of the things I am going to try so I await your findings Ron.
I am also going to try using some 4.5mm rod, its ground and hardened to be used as transmission shafts in models. I am planning to put the the core over its full length and also possibly fasten it into the core with resin/adhesive possibly.
I don't know if it will work of not but it seems that the end on the handle and the transition are important and one of the trickiest parts to get 100%.