Page 5 of 32
Posted: Mon 30. Nov 2015, 18:35
by Robert Gage
Ron, I agree: that doesn't actually look too good - but only you can judge....
A new American term. What, please, is a 'pita' job?
Posted: Mon 30. Nov 2015, 18:41
by Guest
Ron, those are exactly the same problems I ran into when experimenting with this stuff. But the stiffness of the core strand doesn't translate directly to a stiff whip as the mass of the plaiting around it change the action quite a bit. The way I tried it for a core had a whole lot more lead than was probably needed.
That said, I don't know what kind of stuff Tyler uses for loading bellies. It might be thinner. Just remember that however your experiment turns out, it will not be a waste of time. You'll learn a thing or two either way.
- Pokkis
Posted: Mon 30. Nov 2015, 18:58
by Jessie Edwards
A pita = Pain In The Ass.
First, you need to thread that sinker line with an elastic threader. It goes a lot better that way and takes mere seconds. If your paracord is too small to pass an elastic threader, a big long carpet needle works.
Also, once the whip is done, it wont be as stiff, nor will it flow badly. I actually like the whip that I made with the sinker cord, but I didn't bind it nearly tight enough, so a floppy transition ruined the whole thing. I will say that the whip cracks slower, but then I loaded each strand of the taper with 1 line of sinker line and weighted the whip from handle to fall completely. While there were faults with my idea, I think I can make it better using the sinker line.
Posted: Mon 30. Nov 2015, 18:59
by Ron May
Your previous thoughts and advise was spot on, but I had to try it to actually see what you were talking about.
I think I am going to go ahead and use just one of the strands, doubled over for the 4 strand TT and the other strand just empty and see how that configuration lays and how it behaves after the TT has been finished.
I can see how it might be more effective on a belly other than a TT core. Meaning more room for it to flex and flow as apposed to a twisted configuration leaving little room for the same.
And, seeing that the over all target length is 9' (+or- a little) it might not need so much loading to propel the energy.
I mean TT core, two bellies and an overlay might make it heavy enough.
Posted: Mon 30. Nov 2015, 19:01
by Robert Gage
Ah! Thanks, Jessie!

Posted: Mon 30. Nov 2015, 19:14
by Ron May
Jessie, correct definition of 'pita' .
Just Googled elastic threader and it looks good but I don't want to wait for delivery.
The Lasse needle worked fine just pushing it along with the line threaded into it. It was just
time consuming. Especially if you are just about done and the line pulls out of the needle with only
one foot left of 20', to go. (twice)

There are 3 strands of the line in the paracord so doubled over it would of course be 6.
Did you use it in the BB like core configuration or with a TT core?
Posted: Mon 30. Nov 2015, 21:29
by Jessie Edwards
BB core.
Posted: Mon 30. Nov 2015, 21:41
by Ron May
Thanks Jessie.
I guess we'll see how it works in a TT core.
Posted: Fri 22. Jan 2016, 21:19
by Ron May
Well, it's actually physically started.
I have changed the over all approach to the core some.
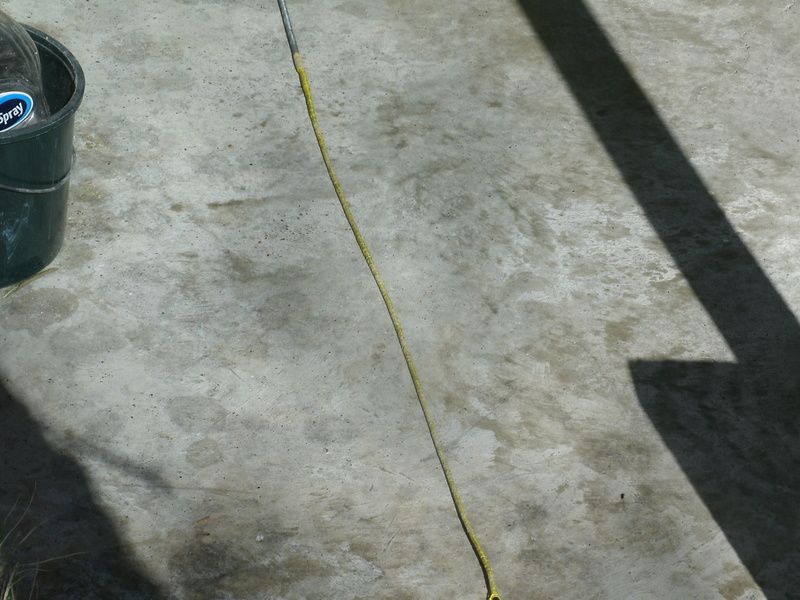
I plaited the sinker line directly on the end of the handle in a 8p and down to about a foot past it.
I used Gorilla Glue to help make the connection fast to the handle and the bolster when I put that on.
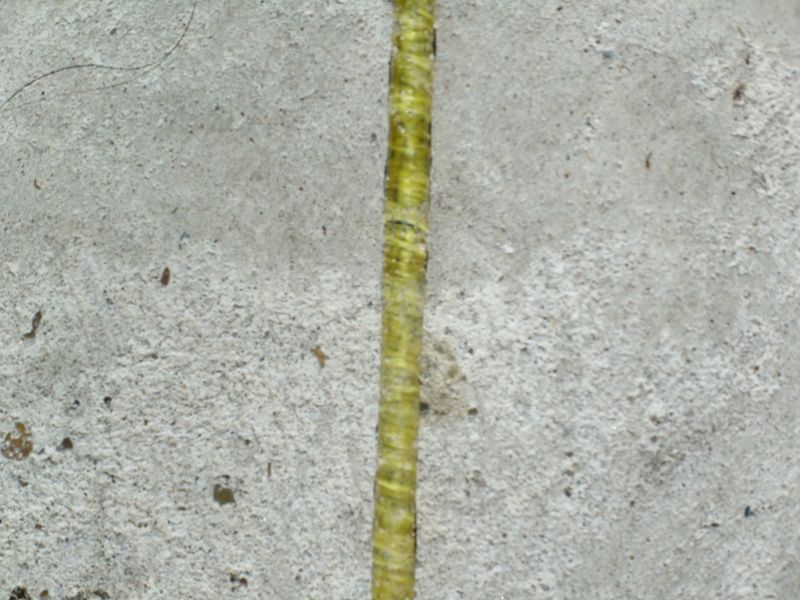
Then I used a tapered twist to finish it off.
Next came using a piece of paracord I had left over from the first whip as a bolster before binding it.
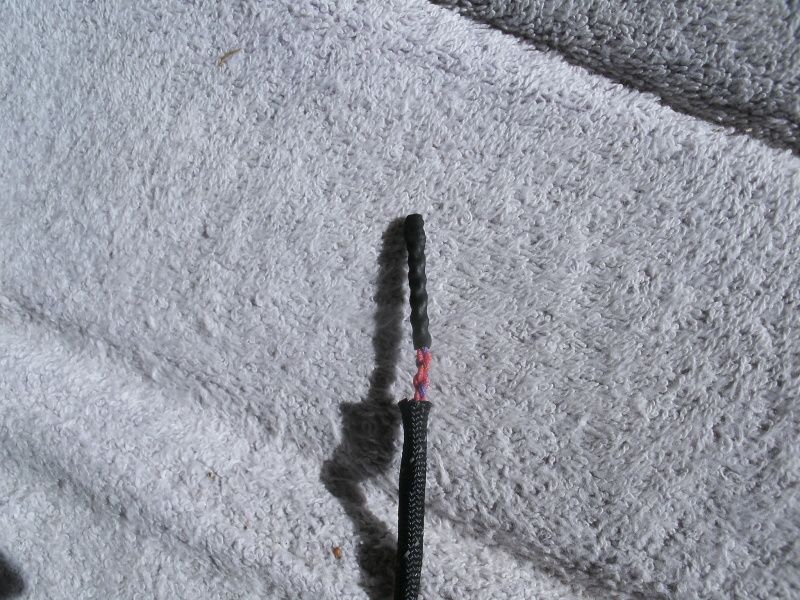
Finally using electrical shrink wrap on the end of it to assure that it did not untwist with usage.
The core is 2.5' from the tip of the handle to the end.
The binding will have to wait until tomorrow for the curing time of the glue that's recommended by the maker (24 hrs.).
" TALLYHO " !
Plaiting down to the 1' or so mark
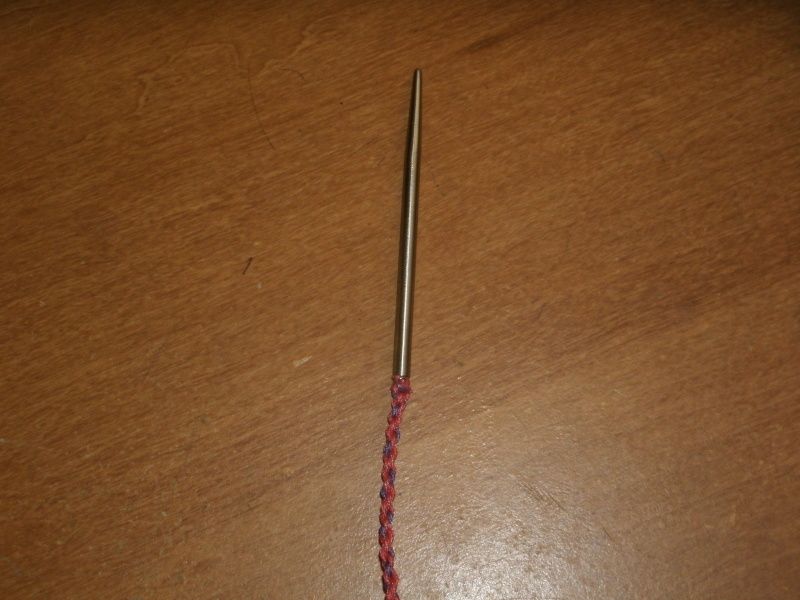
Taper twist finish
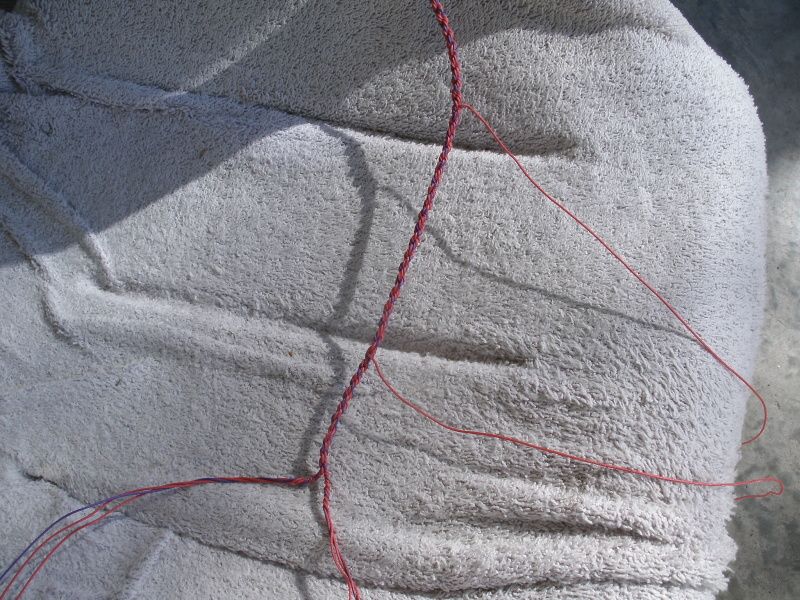
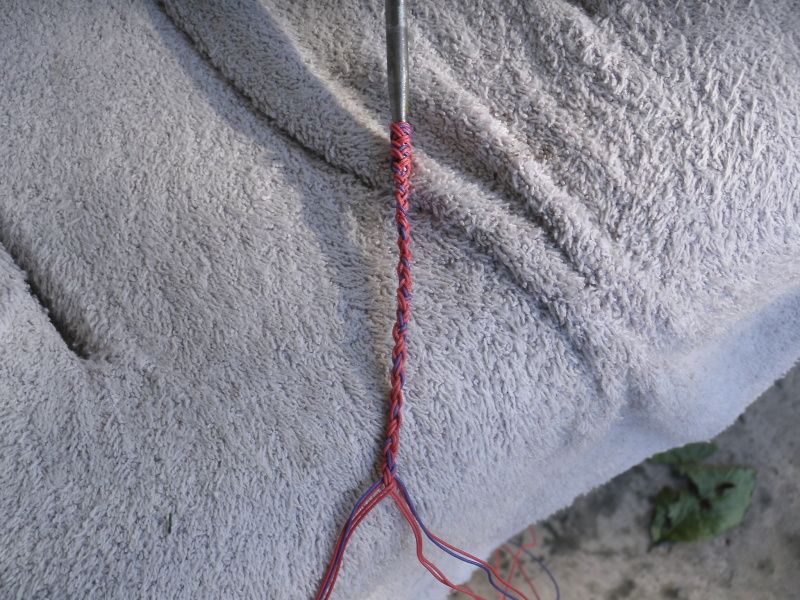
the Lasse needle attached to the end of the TT
the shrink wrap on the end of the TT
bolster attached to the end of the handle

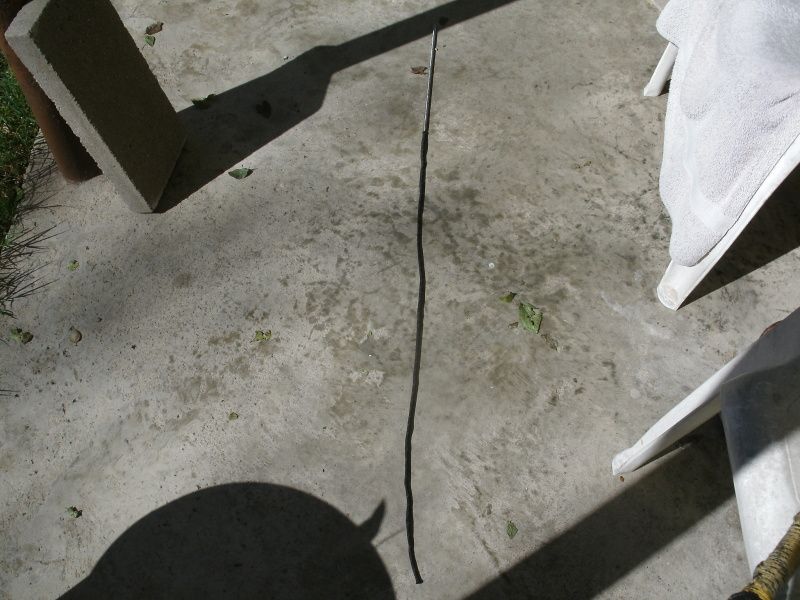
Overview.
In person a taper can be seen a little and felt through the bolster but that will be more evident after the binding.
Ron
Posted: Fri 22. Jan 2016, 23:05
by Efren de Gala
Yay! Up and at 'em!
Posted: Fri 22. Jan 2016, 23:19
by Rachel McCollough
Ron this will really be interesting to watch!!!
Posted: Sat 23. Jan 2016, 00:14
by Ron May
Rachel, yep most definitely interesting.
I had not come across any one doing this before in my researching the TT core in combination with sinker line.
The plan as it stands at this point is to plait the first belly down to the end of the core and TT from there to the end of the end of the whip as sort of an extended TT core .
This will give a more solid base to bind against as you pointed out in one of your recent posts.
Hopefully promoting a taper through out the thong when done.
Ron
Posted: Sat 23. Jan 2016, 01:14
by Rachel McCollough
Yep Ron it certainly will, that's what I've been doing on mine too. Lot longer TT on end of belly. It works well so far, just plenty of binding to smooth out. But if you're putting two more layers on top with enough binding you won't see any ridges at all.
Posted: Sat 23. Jan 2016, 08:48
by Robert Gage
Ron, your progress photos are invaluable - for you, of course, but for the rest of us, too!
Posted: Sat 23. Jan 2016, 13:42
by Ron May
Thank you Robert. it's a good way to archive my progress and let others see as well.
I don't think any one in the group has tried this approach yet and a couple have posted interest
in the sinker line loading. It's not the way I originally planned to use it but experimentation is the way
I will learn.
Ron
Posted: Sun 24. Jan 2016, 12:43
by Ron May
Rachel, that's kind of the plan.
And this will be the first time to use the " doorknob" method of binding from the beginning start.
I have a very optimistic feeling that with all the help and advise I receive here on WB that this will
be 100% better than the Zombie Bumblebee (whip #1).
Ron
Posted: Sun 24. Jan 2016, 15:12
by Rachel McCollough
Ron I agree you will see results! With the doorknob method: you can use an exposed 2x4 or post if you like, I half hitch around one and wrap around a finish nail nailed into the board for this purpose, also half hitching around that nail. If you have a post or exposed board as an option, you won't mess up any of your door knobs, and it's quite easy to untie the sinew from...
Posted: Sun 24. Jan 2016, 15:27
by Ron May
Rachel, I do have several options like that available. I have noticed that the " stickiness" of the sinew also helps
to keep it from coming undone if wrapped around the " secure point " several times without tying any knots. Then it's just a matter of when I walk up to the end of the sinew (while binding) to unwrap it and pull more directly from the spool and secure it then walk back and start binding and walking at the same time again. (lather, rinse, repeat )
Note: That too long of a strand of sinew does stretch a bit so I do try to keep the length or distance of the amount of strand I am trying to bind to no more than 10 feet or so to limit the stretching and promote a tighter bind. I do pull pretty hard though.
This method is going to be great and the only thing better would be David's " Binder Winder" that he's working on.
Ron
Posted: Sun 24. Jan 2016, 15:52
by Rachel McCollough
Exactly
Posted: Sun 24. Jan 2016, 18:24
by Ron May
The TT core is bound and ready for the first belly.
It's a lot tighter than on #1 and I can tell this is going to really make a difference .
I almost feels like a flexible rod after the binding in stead of sinker line in a bolster.
I can definitely see the taper now, but it shows up very little in the pic.
Whooohooo!
Ron